Microsoft has already started to roll out Windows 11 for the eligible devices from 5th October. Bear in mind, it is a free upgrade for all Windows 10 users. But, since the OS is being rolled out in phases, chances are you might not receive the upgrade right away. According to Microsoft, all eligible devices can expect free upgrades by mid-2022.
But, if you are someone who doesn’t like to wait, this is just the right article for you. Over time, the Windows 11 upgrade would eventually come to your eligible device, the same way you expect Windows 10 updates. Bear in mind, your device needs to meet the minimum system requirements for Windows 11.
Upgrade to Windows 11 Right Away
In this section, we will discuss how you can install Windows 11 right away on your Windows 10 machine. Follow the steps down below to properly complete the installation process:
Step 1: Check for Your Device Eligibility
Prior to installing, make sure to check whether your device is eligible to run Windows 11 in the first place. Since Microsoft has announced new system requirements for Windows 11, several devices have become unsupported.
During the launch of Windows 11, Microsoft also released the ‘PC Health Check’ tool to check for software and hardware compatibility before upgrading. You can head over to Microsoft’s download page and choose the correct version of the PC Health Check tool.
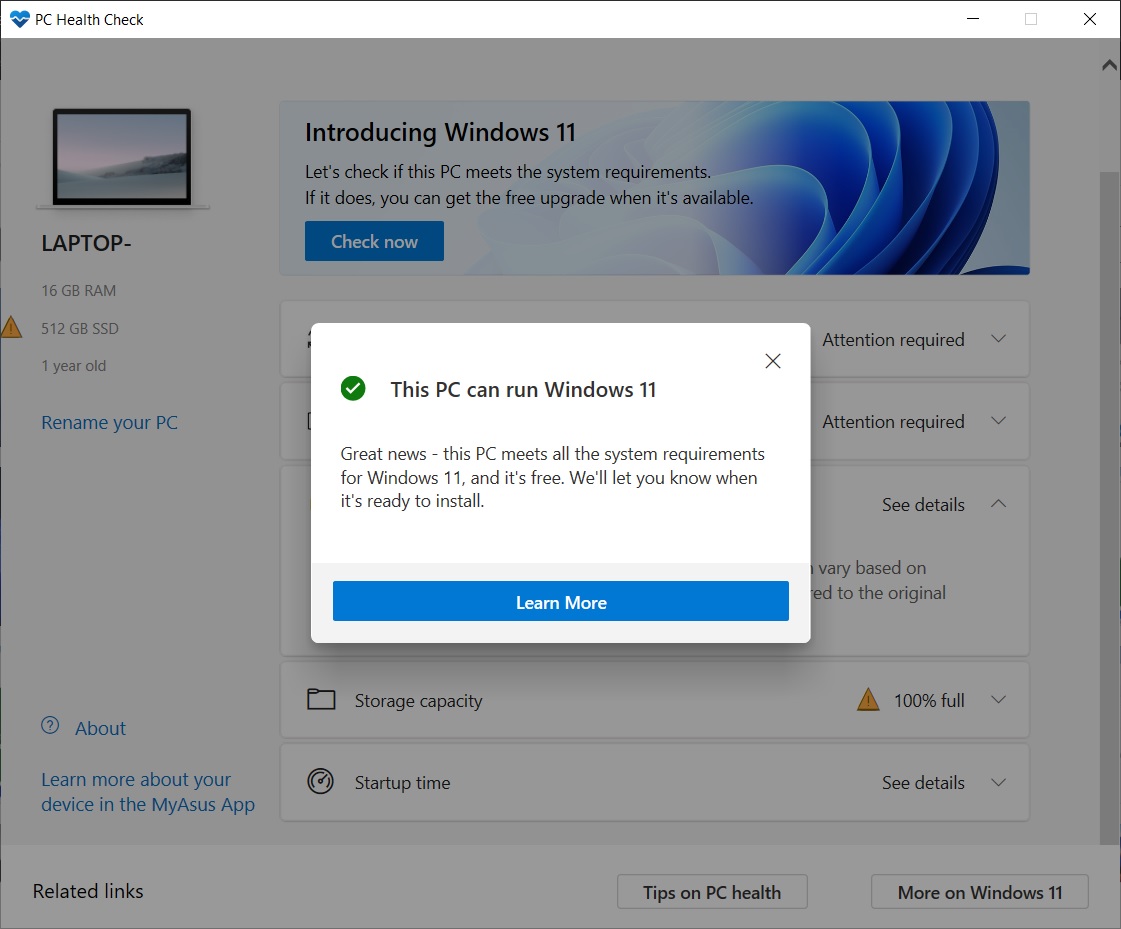
Read more: How to Check Windows 11 Compatibility?
Here we have discussed some of the most common error messages you can come across, and how you can bypass them for Windows 11 upgrade.
The minimum system requirement for Windows 11 is as follows:
- Processor: Dual Core, 1 GHz, 64-bit processor
- RAM: 4 GB
- Storage: 64 GB
- System Firmware: UEFI, Secure Boot Compatible
- Trusted Platform Module (TPM): TMP Version 2.0
- Graphics Card: DirectX 12 Compatible graphics with WDDM 2.x drivers
- Display: 9” with 720p resolution, 8 bits per color channel
- Internet Connection: Internet connectivity is required to set up a Microsoft account for Windows 11
Step 2: Update the Latest Version of Windows 10
In order to get the latest version of the Windows 11 Insider Preview builds, you need to run the latest Windows 10 version. The majority of the time, the prompt arises, ‘You’ll need to upgrade to a newer version of Windows to get Insider Builds.’
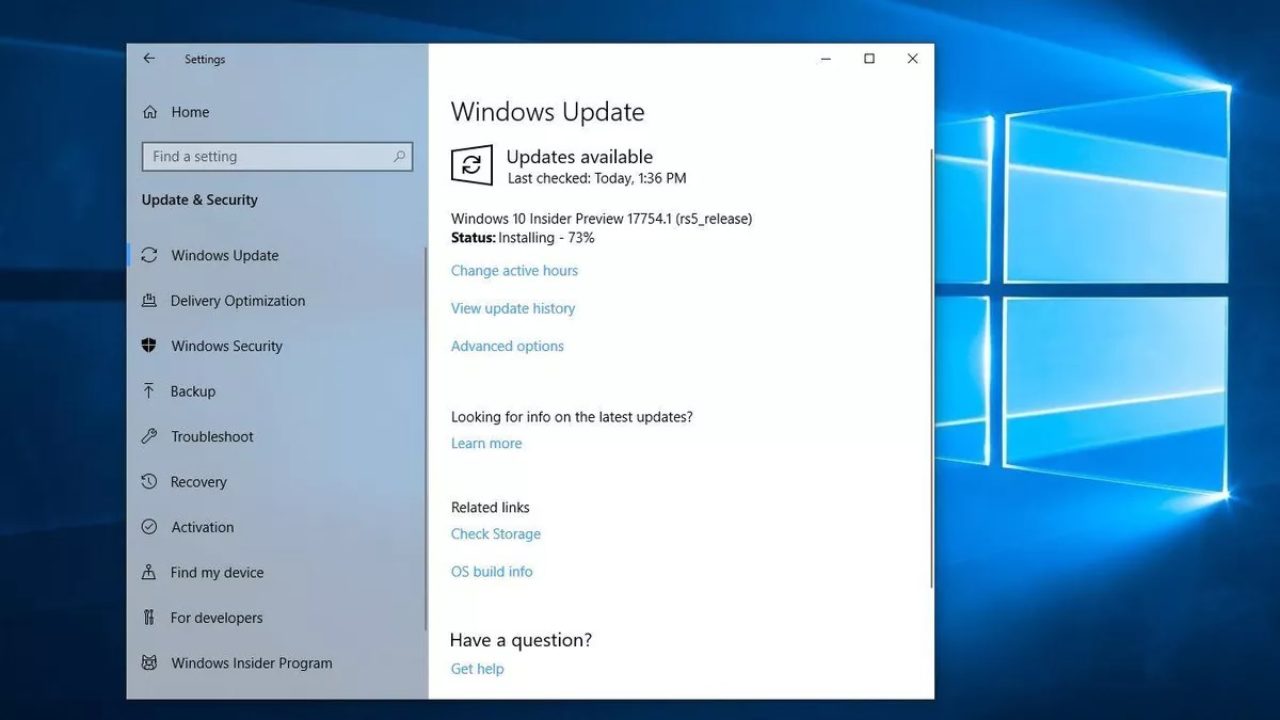
In order to update Windows 10, simply go to Start > Settings > Update & Security > Windows Update. Now Windows will check for updates, and automatically upgrade your PC to the latest version of Windows 10.
Step 3: Join the Windows Insider Program
Since Windows 11 is just started to roll out, you can enroll in the Windows Insider Program. At first go to Settings > Update & Security > Windows Insider Program. Now, choose to Get started and log in using your Microsoft account.

In case you want to opt out of the program, simply click on Stop Insider Preview builds and select Confirm.
Step 4: Upgrade to Windows 11 Insider Preview
Now that you have successfully joined Windows Insider Program, you can expect the latest builds of Windows 11 right away. In order to upgrade, head over to Settings > Updates & Security > Windows Update and download the latest version available.

Concluding Words
So that was our curated guide on how you can upgrade from Windows 10 to Windows 11. Bear in mind, while you are using the Insider Build of Windows 11, you might encounter several bugs and glitches. So, once Microsoft rolls out Windows 11, you can always revert back to the stable version.


")


")