Transferring the majority of photos and videos on your iPhone can save a ton of internal storage. Furthermore, on a bigger screen and resolution, you can easily edit and retouch your photos and videos with ease.
Getting your files to the computer actually opens a whole new world of possibilities for you. When it comes to transferring files, there are a plethora of options to choose from. Especially, with iPhone and Macs, since they share the ecosystem.
As for the PC, it is not exactly as hard as you may think. So, in this article, we are going to share some of the best ways you can transfer photos and videos.
Also Read: How to Back Up iPhone, How to Unlock Your iPhone and How to Use Do Not Disturb on iPhone
Start with iCloud Photos
iCloud Photos are capable of storing all your photos and videos while keeping them readily available across all Apple devices. Using the same Apple ID, you can access iCloud to even your PC. With iCloud, all photos and videos are stored in their original, full resolution.

This way, you can keep your original photos on Mac or PC while saving the device-optimized versions on your EDC iPhone. Any changes you make to your photos are updated throughout all devices.
Import Photos and Videos to Mac
If you don’t want to use iCloud, you can also directly import photos and videos right to Mac. Follow the steps down below:
Step 1: At first, connect your iPhone to your Mac using a lightening-to-USB A or lightening-to-USB C cable.
Step 2: Open the Photos app on your Mac.
Step 3: Within the Photos app, click on your device’s name from the sidebar. Look for the Import screen to get all the photos and videos you want from your connected device.
Step 4: Unlock your iPhone and type in your device password once asked. Tap on Trust to continue when the prompt appears, ‘Trust This Computer.’
Step 5: You can also select where you want to import your photos and videos. Right next to ‘Import to’ you can either create a new folder or choose an existing one.
Step 6: Now select the photos you want to import and click on Import Selected or choose Import All.
Step 7: Wait until all your photos are imported, and disconnect your iPhone from Mac.

Source: Apple
Read: How to Find Downloads Folder on iPhone or iPad
Sync Photos and Videos to Windows PC Using iTunes
If you are using iTunes on your Windows PC, you can actually sync all your photos and videos across all devices. Here’s how you can access your files from iPhones:
Step 1: Connect your iPhone to the computer using a lightning-to-USB cable.
Step 2: Open the iTunes app and click on the Device icon at the top left corner of the Window.

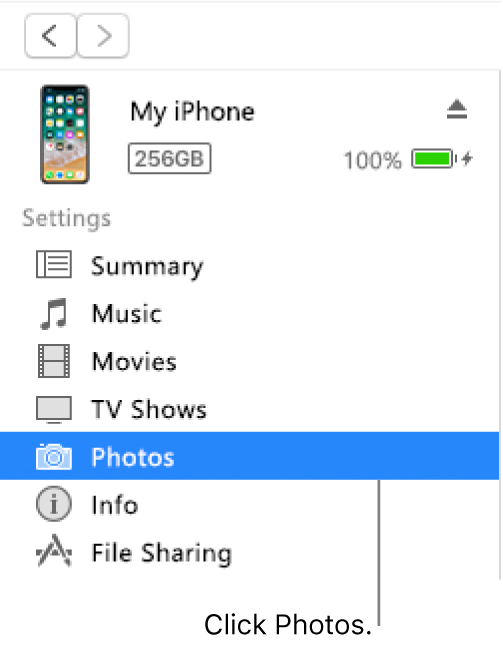
Step 3: From the left panel, click on Photos.
Step 4: Once you select Sync Photos, choose the files and folders you want to sync across your Windows PC.
Note: If you are already using iCloud Photos, the Sync Photos may not be visible to you. You can skip this process altogether.
Step 5: Once you are ready to sync, simply click on Apply.
Import Photos and Videos to Windows Using Photos App
The built-in Windows Photos app can import photos and videos from your iPhone. The entire process is as follows:
Step 1: Connect your iPhone to your Windows PC.
Step 2: Make sure to unlock your iPhone, otherwise, your PC may not recognize the device. If asked, type in your password and click on Trust for the ‘Trust This Computer’ prompt.
Step 3: Click on the Windows button and search for Photos to open the app.
Step 4: In the Photos app, go to Import > From a USB device and follow through with the on-screen instructions.
Step 5: Choose the photos and videos you want to import and hit enter. Wait for a few moments until the import reflects on your device.
Note: This method is only going to import photos and videos that are already present on your device instead of the cloud.
Read: How to Check Apple AirTag’s Battery Life on iPhone
The Bottom Line
Regardless of the method you choose, Apple has made the entire process of transferring photos and videos completely seamless. Just bear in mind, to properly organize your photos, so that you don’t end up cluttering them.


")


")