Working with the same brightness the entire day can prove to be troublesome. You need to adjust the brightness of your PC or laptop, if not done then it can have a negative impact on your eyes. So, you can see how important it is to adjust the brightness of your Windows 10 for comfort and more importantly, your health. It is essential that you adjust the brightness of your laptop or PC according to the environment you’re working on. In this article, we would describe 5 ways to adjust brightness on Windows 10.
Also Read: 7 Ways to Fix Windows 10 Brightness Slider Problem
5 Ways to Adjust Brightness on Windows 10
5 Ways to Adjust Monitor Brightness on Windows 10
1. Adjust Brightness According to Battery Level
Well, most of the times it happens that you might be low on battery and there aren’t any plug point nearby. Then, you can adjust the brightness so that you can use your device for a longer period of time. You can enable the battery saver feature which would turn down your brightness when you’re low on battery. If you want to activate it then follow these steps:
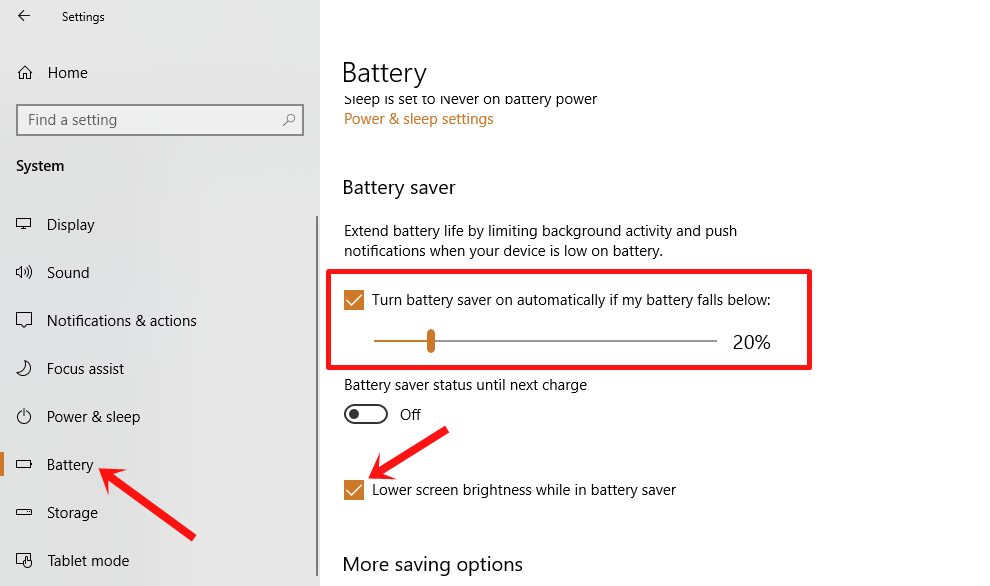
- First of all, you need to open the Windows Settings App. For that, you need to go to the start menu or simply use the Windows+l keyboard combination.
- Now, you would see the System on the screen. Click on that.
- In the left pane of the new page, click on Battery.
- Scroll down and you would see the Battery saver section in the right pane. Click on Turn battery saver on automatically if my battery falls below
- Next, drag the slider to specify at what battery level the battery saver gets activated.
- Lastly, you need to mark the check box ‘Lower screen brightness while in battery saver’.
2. Adjust Screen Brightness from Control Panel
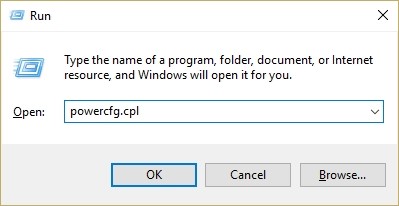
- First, press the Windows key+R then you need to type powercfg.cpl and hit Enter. That would open power options.
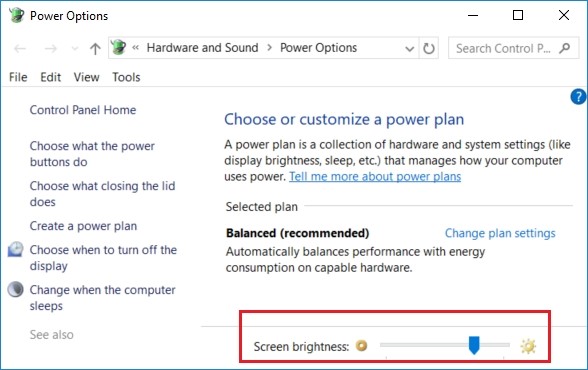
- You would find the screen brightness slider at the lower right of the screen.
- For adjusting the brightness, you need to move left for lowering the brightness and move right for increasing the brightness.
3. Adjust Screen Brightness from Power Icon
This is the easiest way to adjust the brightness of your Windows 10.
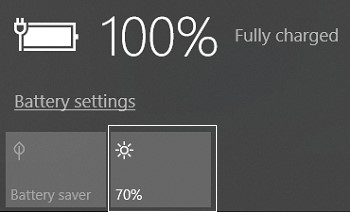
- From the taskbar notification area, you need to click on the power icon.
- After clicking on the brightness icon you can lever between brightness level: 0%, 25%, 50%, 75% to 100%.
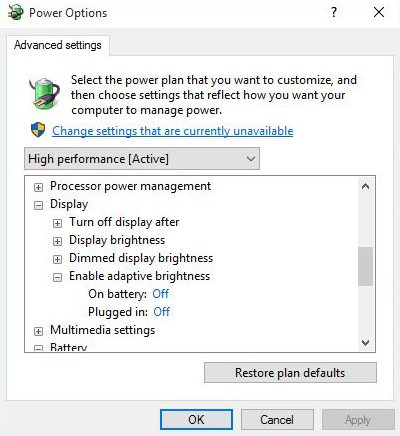
4. Use Adaptive Brightness in Windows 10
For setting the ideal brightness according to the environment you’re working on. You can follow these steps. For enabling this feature your device should have a brightness sensor.
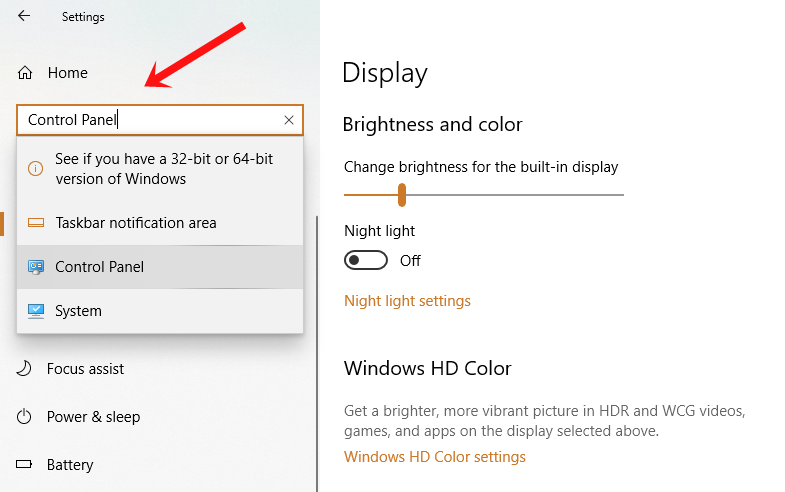
At first, you need to press Windows key + l for opening the Settings.
Secondly, search for Control Panel.
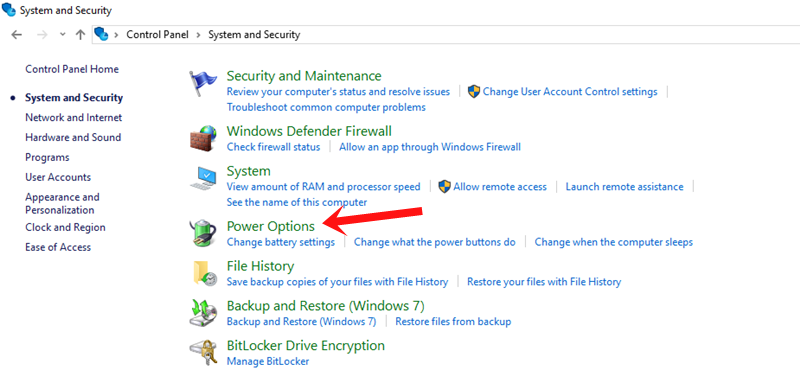
Then click on Power Options.
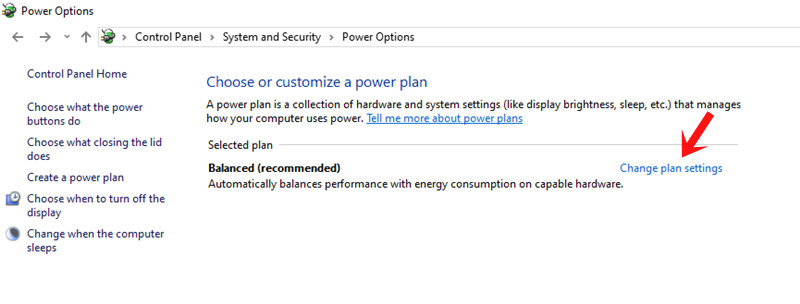
Next click on Change plan settings.
Click on Change advanced power settings.
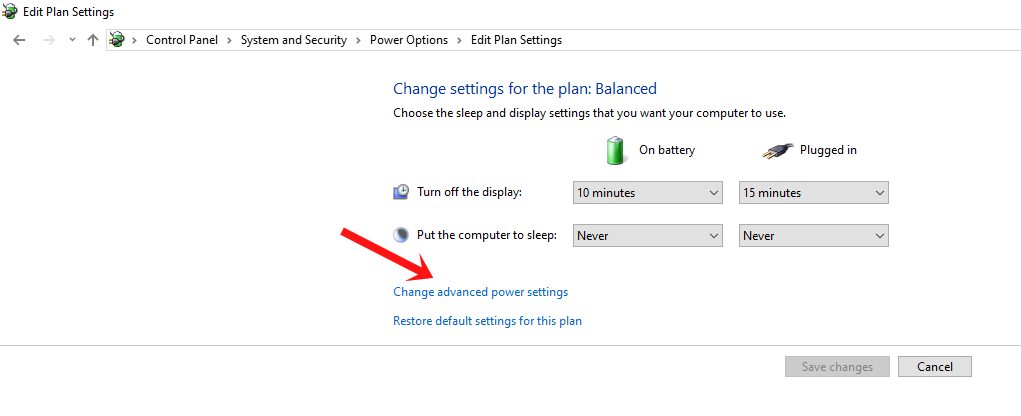
Now, expand Display option and turn on the Adaptive brightness features. Do remember, you will only see the option when your device has a brightness sensor.
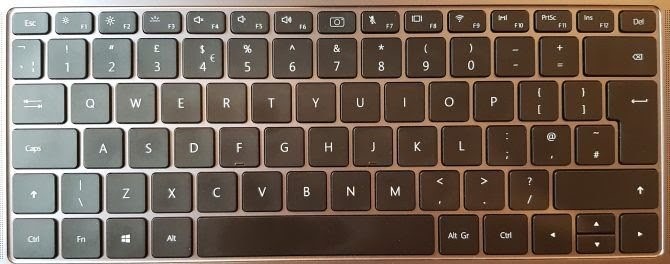
5. Adjust Brightness on PC Using Shortcuts
Using PC shortcuts for adjusting brightness is the easiest method than the rest of the methods mentioned above. You just need to know the shortcuts for increasing and decreasing the brightness of your device. The key combination would depend on the model of keyboard you’re using.
 Final Verdict
 Final Verdict
If you frequently get headaches and have weak eyesight then adjusting the brightness of your desktop is a must. Furthermore, if your device doesn’t have a good battery backup then you can keep your brightness at a lower level so that you can use your device for a longer period of time. Expectantly, you have learned the different methods for adjusting the brightness on Windows 10.


")
I can not change the colors on my desktop. Had a problem and lost the operating system on my desktop. bought a new copy of windows 10 home, and installed it. Right away the colors went nuts.
The display looks like I’m looking at a negative. I have searched for a way to go back to default display colors, to no avail. I am stuck and do not know where to turn.HELP
It might be a driver-related issue. Try updating the display driver or install the correct one according to your system from the official site.
MY MONITOR IS MY 46″ Toshiba TV. ALL OTHER INPUTS ARE NORMAL, SO THE PROBLEM IS NOT THE TV