GIMP is an open-source image editing software that comes with almost all the essential features. You can download GIMP from the official website or use it as a free alternative to Photoshop. GIMP works on Windows, Mac, and Linux computers. So, you can use it to edit your images efficiently.
In this article, we will talk about how to crop images in GIMP in a very simple step-by-step way. Let’s get started!
Also Read: 25 Best GIMP Plugins and Filters You Can Use
How to Crop Image in GIMP
Step 1: Open the image file you want to edit. Press Shift + C, and start selecting the area you want to crop.
Alternatively, you can go to Tools > Transform Tools > Crop.

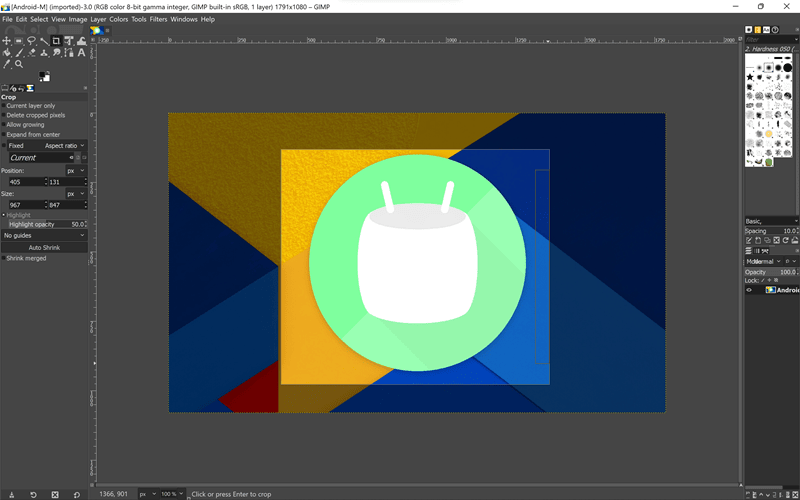
Step 3: Once you have selected the area, just press enter key and your image will be cropped.

You can also use other tools that come with GIMP, such as Rotate or Resize tool, for resizing images without affecting their quality too much.
Alternatively, you can crop an image by selecting your required area and cutting it. Here’s how to do it.
Step 1: Choose the Rectangular Selection Tool from the Toolbox. It will enable you to crop your photo down to size without losing any of its quality or detail.

Step 2: Drag the rectangular selection tool over the area that you want to keep
Step 3: Press Enter on your keyboard for one final time in order for GIMP to apply this new size reduction upon all layers below it so that only those with transparent areas remain visible after cropping has been completed!
Step 4: Hover to any corner of the selection and right-click on it.
Step 5: Click on File > Crop to Selection from the menu bar, as shown below.

Step 7: This will remove all areas outside your chosen rectangular selection area and crop your image down to size, leaving only what you want in it!
Step 8: Now, click on File > Save or File > Save As to save your cropped image as required. For example, we have clicked on Save As an option to save this cropped image in PNG format on the Desktop.
The new File will be saved automatically with the name “crop.png.”
If you want to change the name of an existing file (e.g., if you have renamed it), right-click on its icon and select Rename from the context menu; then enter a new name for your image and press Enter.
Frequently Asked Questions
1. Where is the crop tool in GIMP?
You can activate the crop tool by three methods. First, click on the button in the Toolbox. Secondary, press Shift+C, and third, go to Tools>Transform Tools>Crop in the top-menu bar.
2. How do I crop an image to a specific size in GIMP?
After clicking on the crop tool, look in the left panel for further options. Select from Aspect Ratio, Width, Height, Size, etc., and enter the value in the box below.
3. What is the shortcut key for the crop in GIMP?
You can press Shift+C to select the crop tool in GIMP.
Also Read: How to Reduce Image Size Directly on Google Chrome
Wrapping Up
I hope you have learned how to crop an image in GIMP. There you have it—a simple step-by-step guide on how to Crop in GIMP. If you want to learn more about GIMP, you can also check out our other articles. If you have any questions, please leave them in the comments.


")


")