There are several instances where you might find a secondary display come in quite handy. Keeping that in mind, Microsoft introduced the screen mirroring feature in Windows 10 known as ‘Project to this PC.’ The feature makes uses of the Miracast technology, in order to project content on other supported devices including a smart TV or even streaming devices such as Roku. The only prerequisite that they have to be connected to the same local network.
This goes without saying, it is a pretty nifty feature, that can always come in handy in several scenarios. And the best part is that you won’t be needing any external hardware or software whatsoever. So, in this article, we are going to discuss how to set up screen mirroring in Windows 10.
Also Read: 10 Best Windows 10 Apps You Should Use
Use Your PC as a Secondary Wireless Display
In order to successfully set up screen mirroring in Windows 10, you will be needing a source as well as the destination device. Both of these devices should support the Miracast technology and should be connected to the same network. So, follow the steps down below to properly connect the two devices:
Destination Device
The destination device is termed the device where you will be projecting your screen. These are the steps to enable ‘Project to this PC.’
Step 1: Head over to Settings > System > Project to this PC
Quick Tip: In case you find the red message, “This device doesn’t support Miracast, so you can’t project to it wirelessly” your device simply doesn’t support it.
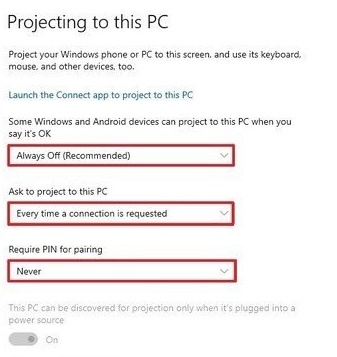
Step 2: Head over to the drop-down menu and select ‘Always Off’ for the option “Some Windows and Android devices can project to this PC when you say it’s OK”
Step 3: Choose ‘Every time a connection is required’ for the “Ask to project to this PC”
Step 4: Choose never, when asked for a PIN. And that’s just it for all the settings.
Step 5: Now open the ‘Start’ menu and search for ‘Connect’ and open the top result.
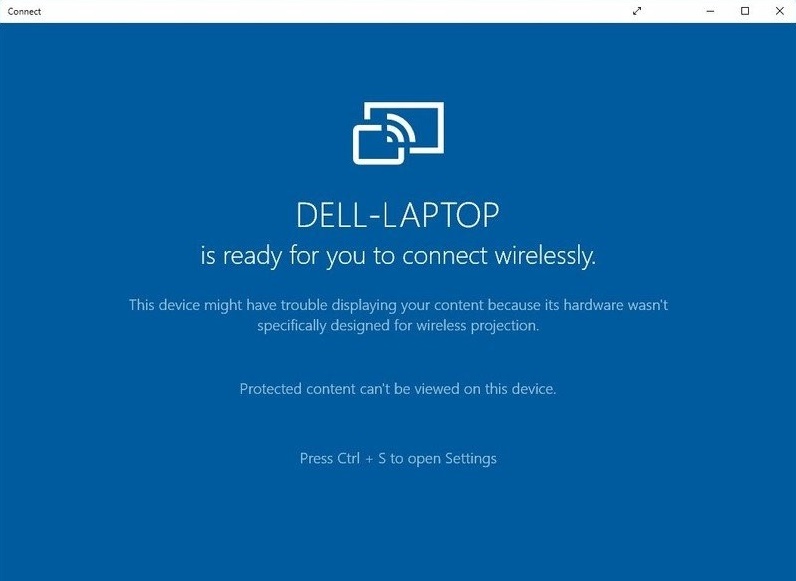
Step 6: Under the title bar, select the arrow button, in order to enter the full-screen mode.
Once you have completed all the steps, you can now easily accept mirroring requests from other computers.
Source Device
The source device is termed for the computer you will be projecting the display from. In order to project your screen, follow the steps down below:
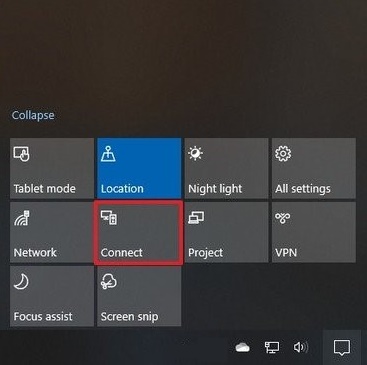
Step 1: At first open ‘Action Center.’ You can also press ‘Windows + A’ to bring forth the Action Center.
Step 2: Now click on the ‘Connect’ button.
Step 3: Now you can check for the device you want to connect with. Sometimes it might take a while to find them.
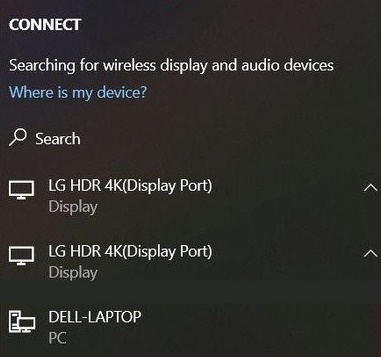
Step 4: Now tick on the ‘Change projection mode’.
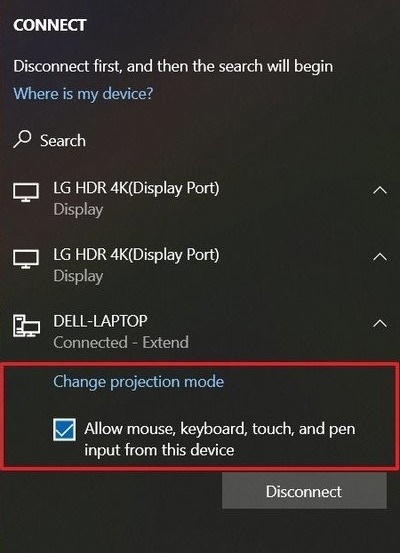
Once you have completed the connection procedure, your device can easily connect with the destination and work as a secondary display.
Customizing Your Wireless Display
Once you have properly configured the connection, you can find the ‘wireless display’ option within the regular Display settings. This is where you can actually change the resolution, set up different orientations as well as extend your screen real estate. In order to customize your wireless display, follow the steps down below:
Step 1: Head over to Settings > System > Display.
Step 2: Within the ‘Rearrange your display’ settings, look for the wireless option.
Step 3: You can set up your desired scale under the ‘Scale and layout’ section. Similarly, select all your preferences including the desired screen resolution as well as the option to either Extend or Duplicate your screen.
Disconnecting the Wireless Display
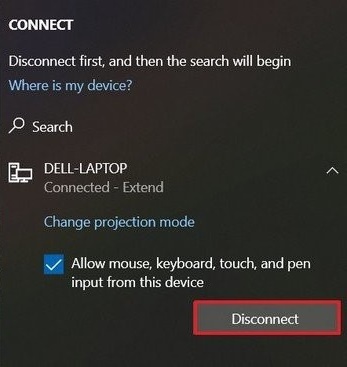
In case you don’t want to use the screen mirroring option, you can always click the Disconnect button, you find at the top of the primary monitor. In fact, you can also make use of the Action Center or the Settings in order to disconnect the Wireless Display. Follow the steps down below in order to disconnect using Action Center:
Step 1: Once you open the Action Center, click on the Connect button.
Step 2: Under the connected devices, you can find the ‘Disconnect’ button.
As for disconnecting using the Settings menu, head over to Experience. Choose System > Display. At the bottom of the page, you can find Connect. Click on it to wireless display options and select Disconnect.
Also Read:
- How to Disable Cortana in Windows 10
- How to Take a Screenshot in Windows 10
- How to Check the CPU Temperature on Windows 10
The Bottom Line
So, that was all about setting up a screen mirror in Windows 10. That goes without saying, the introduction of function built-in Windows 10 makes all the sense, without looking out for any third-party solution. So, what are you waiting for? Try it out for yourself and let us know in the comment section below.


")


")