Every year Google Launches a new version of its flagship Pixel phone which brings a lot of excitement for everyone. The pixel phones are quite good in every aspect. Whether it’s the best hardware available in the market or the latest version of stock Android, You will get all of these on the one phone.
Last year, when Google Launched Pixel 2, its “At a Glance widget” was liked by many people. It was a very interesting idea to show upcoming calendar events just right on top of the time and weather. As the widget was Pixel exclusive, many Android users tried various workaround to get “At a Glance” widget on their Android phones. But workarounds are always workarounds. Now, Google has made this feature available for every Android device running Nougat 7.0 and above.
Get Google Pixel 2’s “At a Glance” Widget on any Android Device:
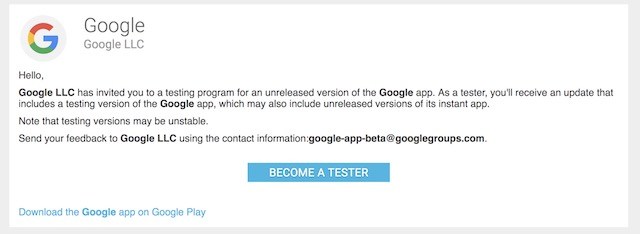
1. Currently, the feature is only available for beta users. So, visit this link and sign up as a beta tester for Google using your Gmail account. After a successful signup, you will see a “become a tester” button. Just click on it.
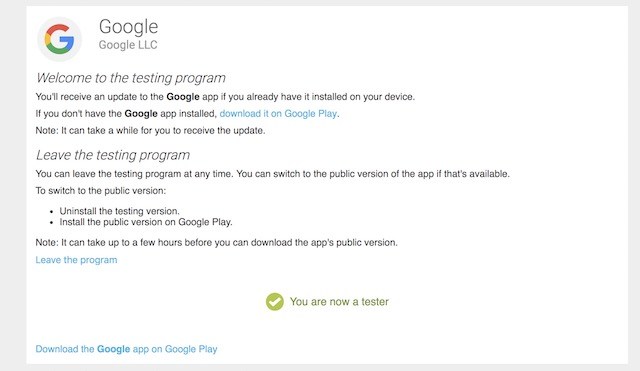
2. After that, you should see a message saying that – You are now a tester.
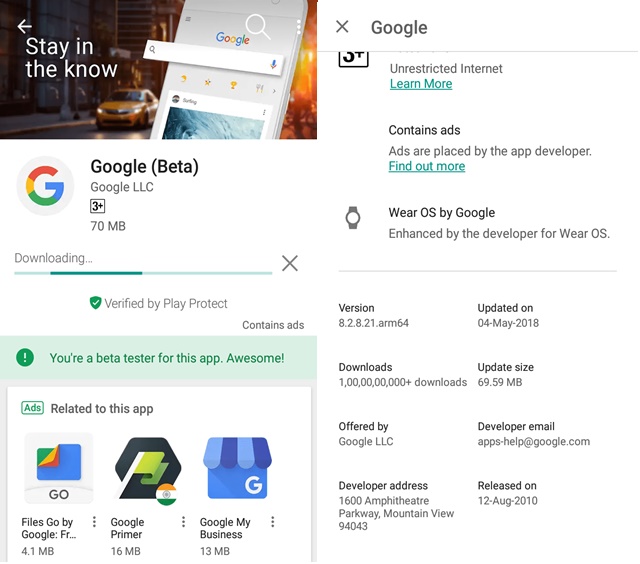
3. Now, you have to wait for a few minutes. Then, open the Google Play Store and search ‘Google App‘. You will see a beta update is available for you. Just install the update.
Also Read: Top 10 Best Google Apps For Android in 2018
4. After successfully installing the update, long tap on your home screen and go to widget panel. Scroll down a little bit and you will see “At a Glance” widget. Just hold and drag it on your home screen.
![]()
Now Enjoy Google Pixel 2’s “At a Glance” Widget on Your Device
That’s all for this tutorial. I hope you guys can follow it easily. In case you are facing any problem and stuck at any step, just comment below. I would love to help you. If you liked this tutorial, share it with your friends and for more keep visiting Tech4Fresher.


")