Microsoft’s latest iteration with Windows 11 backed by a huge design overhaul is truly appealing. From the revamped start button to a completely fluent design, Windows 11 packed all the much-needed updates, making it worth the jump.
There are a plethora of reasons why you should consider to install Windows 11 on your Windows PC and laptop. And this time around, the biggest focus is set on gaming. Not to mention, for anyone running Windows 7 and newer, you can freely upgrade to Windows 11.
So, no more tinkering around with pirated websites to get an incomplete version of Windows 11. Since Microsoft has started putting Windows 11 upgrade options for the public, now is the best time ever to get your hands on the OS. Here’s our take on everything you need before getting started with installing Windows 11.

Windows 11 Minimum System Requirements
The minimum system requirements you need before you can run Windows 11 on your PC:
| Processor | 1 gigahertz (GHz) or faster with 2 or more cores on a compatible 64-bit processor or System on a Chip(SoC). (Intel- 8th Generation or Newer / AMD- 2nd Generation Ryzen (Zen+) chips or Newer) |
| RAM | 4GB or more |
| Storage | 64 GB or Larger Storage Device |
| System Firmware | UEFI, Secure Boot capable |
| Graphics Card | Compatible with DirectX 12 or later with WDDM 2.0 driver |
| Display | High definition (720p) display that is greater than 9” diagonally, 8 bits per color channel |
| TPM | Trusted Platform Module (TPM) version 2.0 |
| Internet Connection and Microsoft Account | Yes |
Read: Minimum Windows 11 System Requirements for PCs and Laptops
Check Windows 11 Compatibility
If you don’t want to go with the trouble of checking minimum system requirements manually, Microsoft has got you covered. You can always resort to the ‘PC Health Check’ tool for your minimum system requirements.

Simply head over to the website, download the WindowsPCHealthCheckSetup.msi and install. The PC Health Check tool will check for your Windows 11 compatibility. In case any error message pops up stating, ‘This PC Can’t Run Windows 11’ you can refer to our dedicated article on Windows 11 compatibility.
Read: How to Check Windows 11 Compatibility of Your PC
How to Install Windows 11
Before we start with the installation process, make sure your PC complies with the minimum system requirements for Windows 11. Not to mention, make sure to back up your PC before proceeding further.
In case anything goes wrong, you can always restore your PC. Here are some of the most prominent ways in which you can install Windows 11 on your PC:
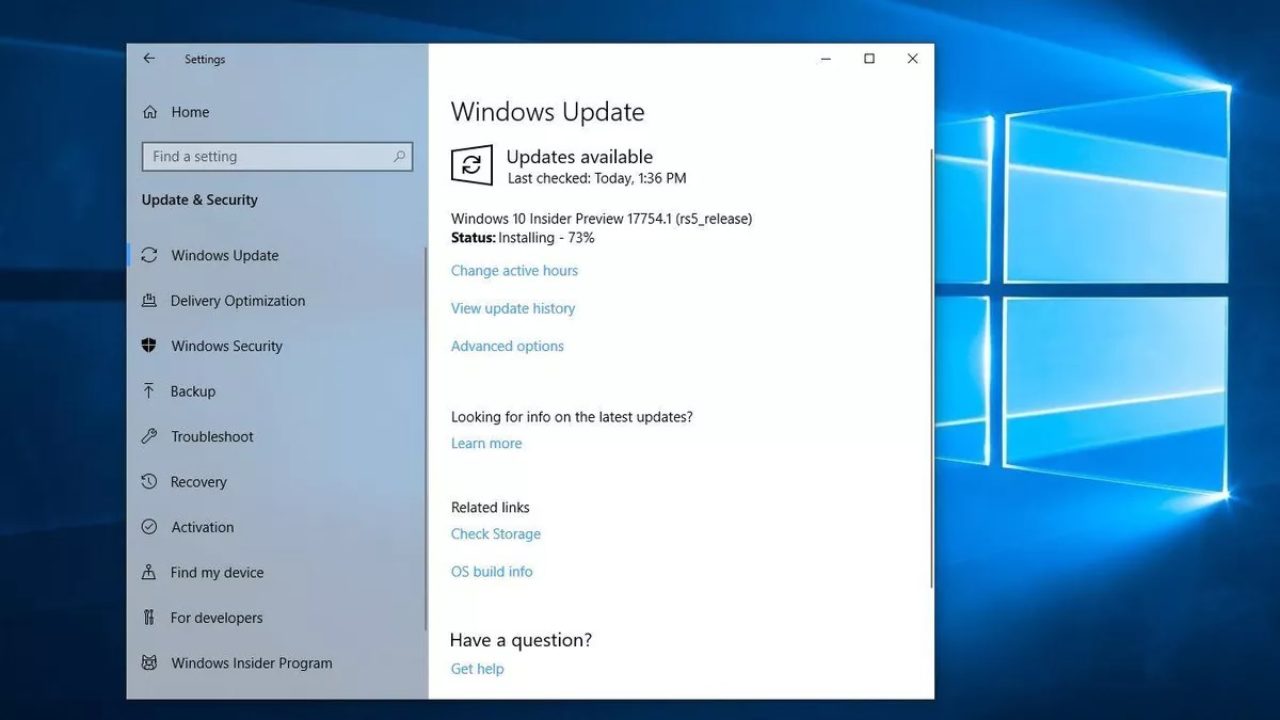
1. Upgrade from ‘Windows Update’
One of the most prominent and easiest ways to upgrade your computer to Windows 11 is through the ‘Windows Update’ feature. This is applicable when your device is eligible for Windows 11 update. Click on ‘Windows Key + I’ to open the Settings menu. Now go to Update & Security > Windows Update.
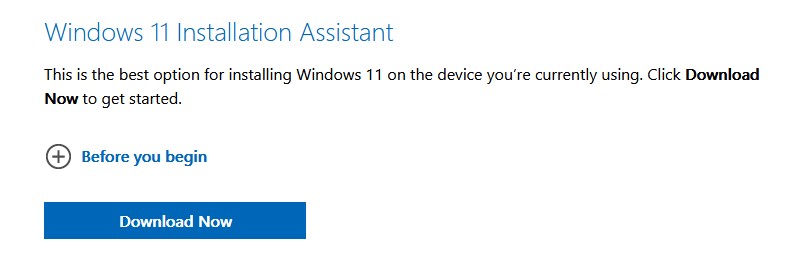
Another easier way is to simply head over to Microsoft’s Windows 11 download page. Click on ‘Download Now’ and follow the on-screen instructions to upgrade your PC to Windows 11.
2. Install on Another PC Using DVD or USB Drive
You can actually install Windows 11 on another PC using a bootable USB drive or DVD. Follow the steps down below:
Step 1: Download Microsoft Media Creation Tool
Microsoft actually allows you to directly download the ISO file of the operating system straight to a DVD, USB, or any installation media. Simply go to Microsoft’s download page and click under ‘Create Windows 11 Installation Media.’
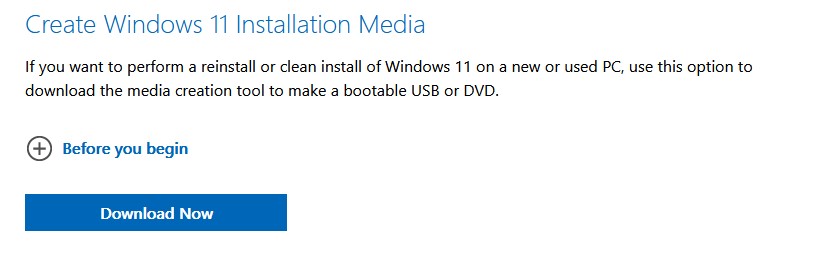
Scroll down until you find the ‘Download tool now’ button. Once you download, the Media Creation Tool, simply follow the on-screen instructions to create your bootable drive.
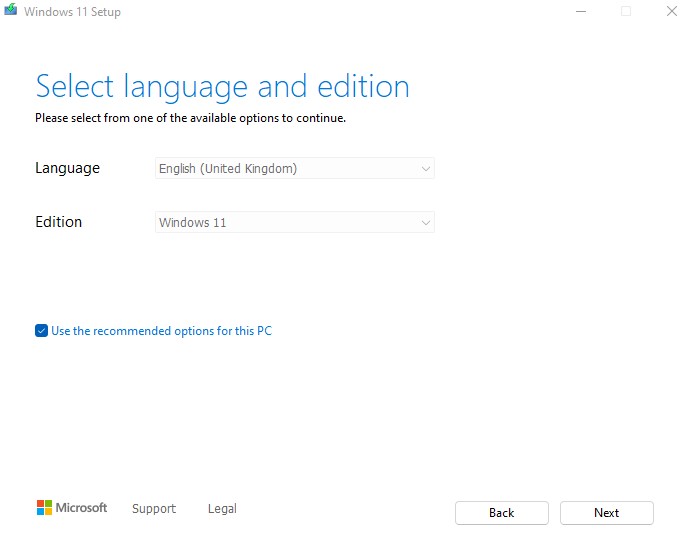
Step 2: Create Bootable USB for Windows 11
This is by far one of the easiest ways in which you can install Windows 11 on any PC. Once you launch the Media Creation Tool simply choose the Windows version you want to install. You can further categorize based on Language, Edition, and Architecture.
Pick the system letter for your USB Drive and click on ‘OK.’ Just bear in mind, then once the installation process starts, your USB drive will be completely formatted. Now, the Media Creation Tool will download the operating system straight to the USB drive which you can use to boot your PC.
Step 3: Burn the Disk to Boot Windows 11
Apart from the USB drive, you can also burn the OS on a DVD. Once the Media Creation Tool downloads the ISO, you can pick any burning software of your choice. For example, in Daemon Tools, simply insert the blank DVD on your optical drive.
Click on the ‘burn ISO image’ option and select your DVD as the target. Now, simply follow through with the on-screen instructions to complete the entire burning process.
Read: How to Open ISO Files?
Step 4: Prepare Your Windows 11 Install
The last step throughout the process of installing Windows 11. Now that you have already created a bootable USB or burned the ISO on DVD, you need to reboot your computer to the same.

Right after the manufacturer’s logo appears on the screen, press F1, F2, or F12 accordingly. Our advice would be to check the corresponding keys for your manufacturer to open the boot menu. Once you are in the boot menu, choose the boot option accordingly and hit Enter. If you get all the steps right, it will launch the Windows 11 setup program.
How to Upgrade Windows 11 without TPM 2.0
This is by far the most sought-after question while installing Windows 11. There are several instances where users cannot install Windows 11 because their PC is not TMP 2.0 compliant. Basically, TMP is a physical chip that is built directly into the processor.
The TMP acts as a ‘secure crypto-processor’ that secures the device from running any malicious software. If the PC doesn’t support TPM 2.0, you will likely get an error message while installing Windows 11, as the PC doesn’t meet minimum system requirements.
Although there is still some workaround when it comes to installing TPM. Bear in mind, that this can only be achieved by professionals who have a deeper understanding of computer hardware. Furthermore, the risks involved often result in making the hardware render useless.
Read: What is TPM and How to Enable TPM 2.0 for Windows 11
Install Windows 11 on Your PC
Regardless of the method used, once the actual setup process is launched, Windows will start copying files from the source. Throughout the process, your PC might also restart a couple of times.
This is where you will be guided by the on-screen instructions to further customize your settings, and configure your Microsoft account accordingly. As with the latest iteration of Windows 10 21H2, Windows 11 also requires a Microsoft account to complete the setup process.
Read: Windows 11 vs Windows 10
Enjoy Your Newly installed Windows 11
Once your computer prepares the desktop, you can now enjoy the newly-installed Windows 11. Coming from Windows 10, some of the biggest changes you can expect include a huge design overhaul.
You can also check out our dedicated article on everything new Windows 11 has to offer over Windows 10. Furthermore, let us know in the comment section below, how is your experience with Windows 11?


")