Discord, one of the most sought-after communication platforms has gained much attention over the first few years. What started out as a humble chat software, has become the behemoth of the social internet. Furthermore, Discord is heavily used for texting, attending voice and video calls as well as catching up with friends and sheer strangers.
But one of the biggest questions that still pertains, is how to use Discord? What makes Discord stand out is its unique approach to communication. While Discord was originally designed for gamers, it has further expanded its community to music, science, politics, arts, dating, and more.
Discord is completely free to use, making it a utopian world for anyone who wants to hang out. But at the same time, exploring Discord can feel overwhelming at times. So we are going to discuss everything about Discord from scratch.
Check out all our guides and tutorials on Discord here.
Getting Started on Discord
Discord’s cross-platform functionality ensures that you can access it via a desktop, web browser, or smartphone. Discord’s mobile app is readily available for both Android and iOS. You can also download their desktop client for Windows, Linux, and macOS.
Once you are done with downloading Discord, your first and foremost task is to pick a username. It can be your real name or any pseudonym. Since Discord adds a random string of digits, your username is always going to be unique. Last but not least, link your username to an email address and password.
How to Join or Create Discord Server?
Up next, your Discord journey starts with joining or creating your own Discord server. Servers cater as the main forum, and why you joined Discord in the first place. You can join a Discord server completely for free while getting in touch with your community or friends.
Follow the steps down below to join someone’s Discord server:
Step 1: You can directly search on Discord or click on a link to join a server. You can also look for a Discord group right from the Discord desktop/mobile client. From the left-side panel, simply click on the Explore Public Servers.
Step 2: Type in the server name you are looking for in the Search box and hit enter. For any server that matches your keyword, you will get the search result.

Step 3: Similarly, you can also join a Discord server using a link. Simply click on the given link, and you will join the server right away.
Create Your Own Discord Server
Step 4: In order to create your own Discord Server, simply click on the Add a Server button from the left side panel.

Step 5: In the next step, you can either create your server completely from scratch or pick a template.

Step 6: Simply follow through with the on-screen instructions, and personalize your server based on your preference.
Read: How to Leave a Discord Server
Discord Customization Options
It is imperative to understand that Discord is more than just about channels and servers. If you want to get the most out of Discord, here’s how you can elevate your entire experience:
1. Security with 2FA
For everyone who prefers security over anything else, you can actually set up two-factor authentication (2FA) on your Discord account. Adding that extra layer of security, you can rest assured of any real-world hacking.
Right after installing Discord, you can go with any two of the recommended Authenticator apps. You can either go with Google Authenticator or Authy. So make sure to down any one of the two from the Google Play Store or Apple App Store.

After that, simply open your Discord app and click on the Settings icon. You can find it right at the bottom of the screen. From the left panel select My Account and select ‘Enable Two-Factor Auth’ from the Password and Authentication‘ group. Now you can follow through with the instructions to complete the 2SV process.

2. Customize Discord Notification
If you are associated with multiple communities, your Discord notifications can easily become overwhelming over time. That is why it is very important to Completely customize your notification settings based on your preferences. Complete the steps as follows:
Step 1: Head over to User Settings and click on Notifications.

Step 2: Simply follow through with the steps and make changes accordingly. You can also turn on/off the sounds for each notification separately.
Note: Word of advice, It is very important to customize your notifications if you want to keep your productivity in check.
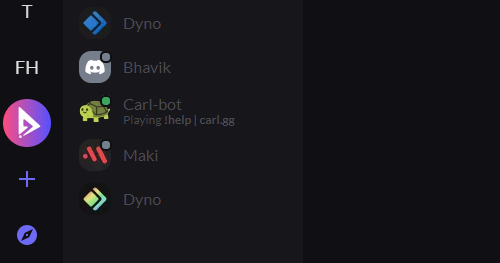
3. Make the Most Out of Server Folders
Once again for everyone who is associated with multiple servers, It is very important to keep everything well organized. This is where Discord shines through, offering the user to create server folders.

It is one of the best ways you can manage servers, categorizing them into respective niches. In order to create a server folder, drag and drop one server to another from the left-side panel.

You can also further personalize the folders by picking up a folder name and color. This way, you can easily identify each folder separately. A pretty nifty addition to enhancing user experience.
4. Surprise with Spoiler Tags
Spoiler tags are a great way to filter out content and allow members to view it with their consent. In order to use the spoiler tags, simply highlight the text and click on the Spoiler button. It is represented by an eye icon.
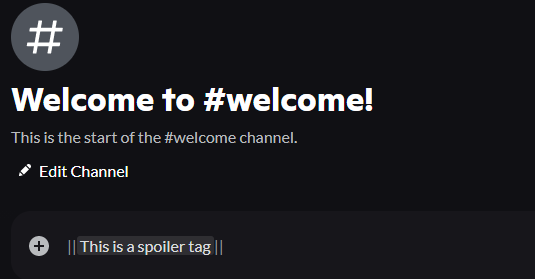
You can also the markdown syntax to add a spoiler tag. Simply add two horizontal bars over each side of your ||text||. In fact, you can also do the same with links as well. And for the best part, users need to click on the tag to view the spoiler.
Read: How to Use Spoiler Tags for Text and Images on Discord
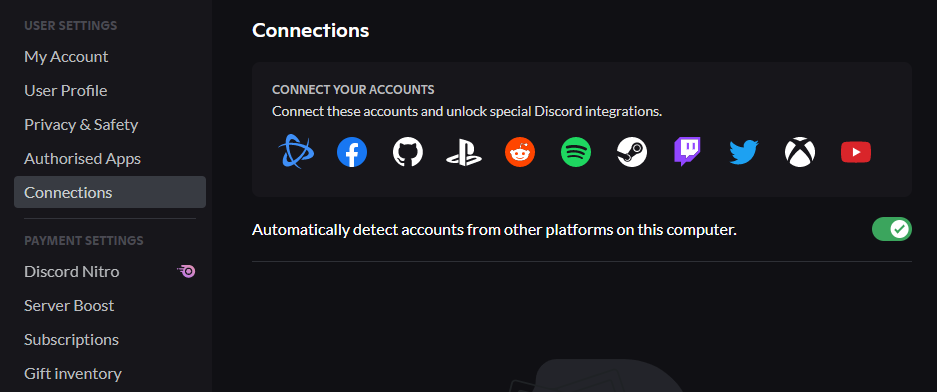
5. Bring Spotify to Discord
Do you know you can actually bring Spotify to Discord? Although it requires a premium Spotify account, you can actually listen to Spotify with your friends on Discord. In order to connect to Spotify, simply go to User Settings > Connections > Spotify. Simply follow through with the on-screen instructions and invite your friends to listen to Spotify together.
6. Set Up Keybinds
Bear in mind, that keybinds are completely different from keyboard shortcuts. Keybinds can be set up by the users and can be assigned to specific keys. Simply go to User Settings > Keybinds > Add Keybind.
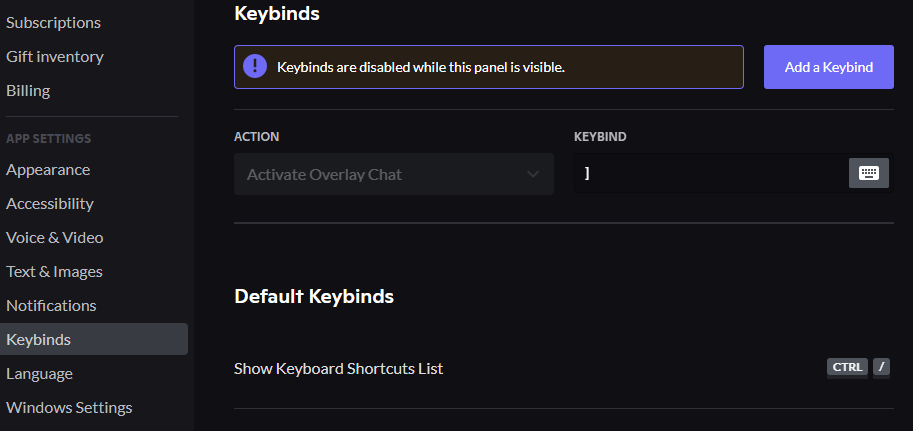
There are several actions that you can perform with keybinds. Some of them include:
- Activate Overlay Chat
- Navigate Back
- Navigate Forward
- Push to Talk (Normal)
- Push to Talk (Priority)
- Push to Mute
- Toggle VAD
- Toggle Streamer Mode
- Toggle Overlay
Also Read: How to Make Discord Video Call on Desktop and Mobile
Improve Your Discord Efficiency with Keyboard Shortcuts
Discord packs a ton of keyboard shortcuts to make your life easier. In fact, you can summon the keyboard shortcut cheat sheet by pressing Ctrl + /. That being said, here are some of the most commonly used keyboard shortcuts that you can use on Discord:
- Answer call: Ctrl + Enter
- Decline call: Esc
- Get help: Ctrl + Shift + H
- Mark server as read: Shift + Esc
- Mark channel as read: Esc
- Navigate between servers: Ctrl + Alt + Up/Down
- Navigate between channels: Alt + Up/Down
- Toggle Mute: Ctrl + Shift + M
- Toggle Deafen: Ctrl + Shift + D
Read: How to Enable/Disable Push to Talk in Discord
Contacting Discord Technical Support
Apart from Discord’s quirky attributes that made it famous in the first place, it offers great technical support as well. Head over to Discord’s dedicated doc site, and you can find the majority of your queries well documented.
The entire interface is very easy to navigate, assisting you to find exactly what you were looking for. Furthermore, you can also get in touch with their support team for any of your queries. Although as of now, Discord doesn’t have any real-time chat feature to mitigate the issues.
Also Read: Best BetterDiscord Themes, Cool Discord Bots, and Best MEE6 Commands.
The Bottom Line
So that was our curated beginners’ guide on how to get started with Discord. What initially started out as a small community for gamers, has become one of the most prominent names on the internet.
Furthermore, Discord’s adaptation to web3 is going to open a whole new world of possibilities down the line. So, let us know in the comment section below, what are your thoughts on adopting Discord?


")